If you have email hosted with GoDaddy and experiencing the frustrating issue of emails ending up in your recipient’s spam folder, we’re here to help.
This issue can negatively impact your business or personal communication, as important emails may not be seen by the intended recipient.
However, there are several steps you can take to solve this problem and ensure that your emails are delivered to the recipient’s inbox.
In this article, I cover the following topics:
- Understanding the email spam filter
- Verify your domain authentication records
- Check your email content for spam triggers
- Check your IP address for blacklisting
- Use a dedicated IP address
- Configure SPF, DKIM, and DMARC records
- Update your GoDaddy email settings
- Send a test email and checking where it lands
- Avoid the use of spam trigger words
- Personalize your emails
- Ask your recipients to whitelist your email address
- Repair poor domain reputation
- Conclusion
- FAQ’s
Understanding the email spam filter
Email providers use spam filters to identify and filter out unwanted emails, such as phishing attempts, spam, and emails with suspicious content.
These filters analyze various factors, including the sender’s email address, the email’s subject line and content, the sender’s domain authentication and reputation, and the recipient’s engagement with the sender’s emails.
Verify your domain authentication records
To prevent your emails from going to the spam folder, it’s important to verify the presence of email domain authentication records.
This involves verifying if you have SPF, DKIM, and DMARC records set up, which help email providers authenticate the sender’s identity.
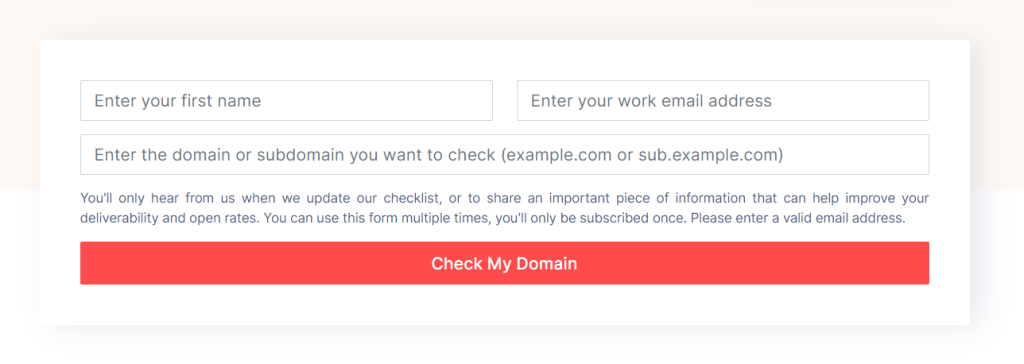
Use the Check My Domain tool found on the homepage of our website.

Check your email content for spam triggers
Your email content can trigger spam filters if it includes certain words or phrases commonly used in spam emails.
Therefore, it is essential to check your email content for spam triggers before sending them.
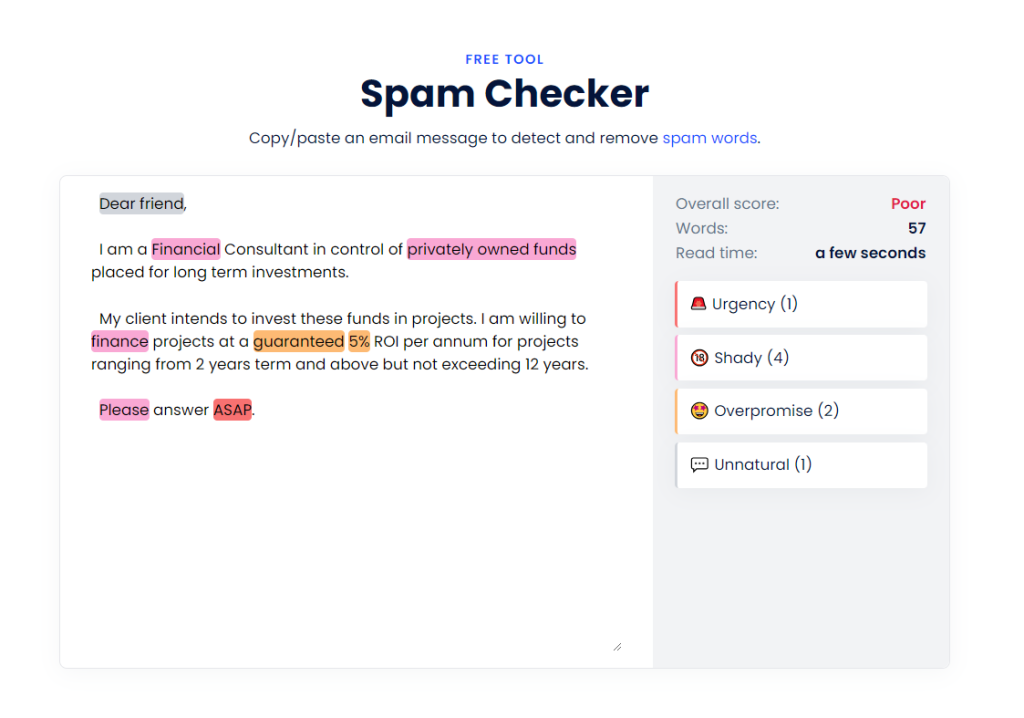
You can use online tools such as Mailmeteor’s Spam Checker, which analyzes your email content and provides a spam score.

Check your IP address for blacklisting
If your sending IP address has been blacklisted, your emails may be flagged as spam by email providers.
So it’s important to check your IP address for blacklisting and take appropriate measures to remove it from blacklists.
Use these tools to check your domain and IP address against known spam blacklists to see if you’ve been blacklisted.
Use a dedicated IP address
If your GoDaddy shared IP address have been blacklisted, consider using a dedicated IP address which can help improve email deliverability.
Using a dedicated IP address isolates your IP reputation from other GoDaddy customers and provides a consistent sender reputation.
Web hosting companies generally charge an extra fee for dedicated IP addresses.
Configure your SPF, DKIM, and DMARC records
SPF records specify which IP addresses are authorized to send emails on behalf of your domain, while DKIM records add a digital signature to your emails to verify their authenticity.
DMARC records provide additional email authentication and policy enforcement.
Set up SPF record
If you own Microsoft 365 from GoDaddy, Professional Email, Workspace Email or Media Temple Mail, use the following SPF record:
v=spf1 include:secureserver.net ~all
If you own Microsoft 365 from GoDaddy and the Advanced Email Security add-on, use the following SPF record:
v=spf1 a:dispatch-us.ppe-hosted.com include:secureserver.net ~all
To add or edit your SPF record read these instructions.
Set up DKIM record
Sign in to the Microsoft 365 Defender Portal. Use your Microsoft 365 email address and password (your GoDaddy username and password won’t work here).
Under DomainKeys Identified Mail (DKIM), select your domain name. (Make sure to select the domain name itself, and not the checkbox next to it.) A window will open on the rightmost side.

Select Create DKIM keys. The keys will be generated as CNAME records.
Select Copy. The hostname and value of both records will be copied to your clipboard. You’ll need the records in the next step, so we recommend pasting them into another document.
To add your DKIM record read these instructions.
Set up DMARC record
To set up your DMARC record read these instructions.
You can also start by adding a simple DMARC record.

Update your GoDaddy email settings
GoDaddy offers various email settings that can help improve email deliverability, such as enabling email forwarding, configuring email filters, and setting up email aliases.
Therefore, it is advisable to review and update your GoDaddy email settings regularly.
Send a test email and see where it lands
Before sending an important email, it’s advisable to send a test email to yourself and check where it lands (Spam Folder, Promotions Tab or Primary Inbox).
This can help you identify any issues with your email subject line, content or configuration and make necessary adjustments.
I recommend you set up 2 test accounts, one with Gmail and another with Outlook. These accounts will be used ONLY for testing purposes.
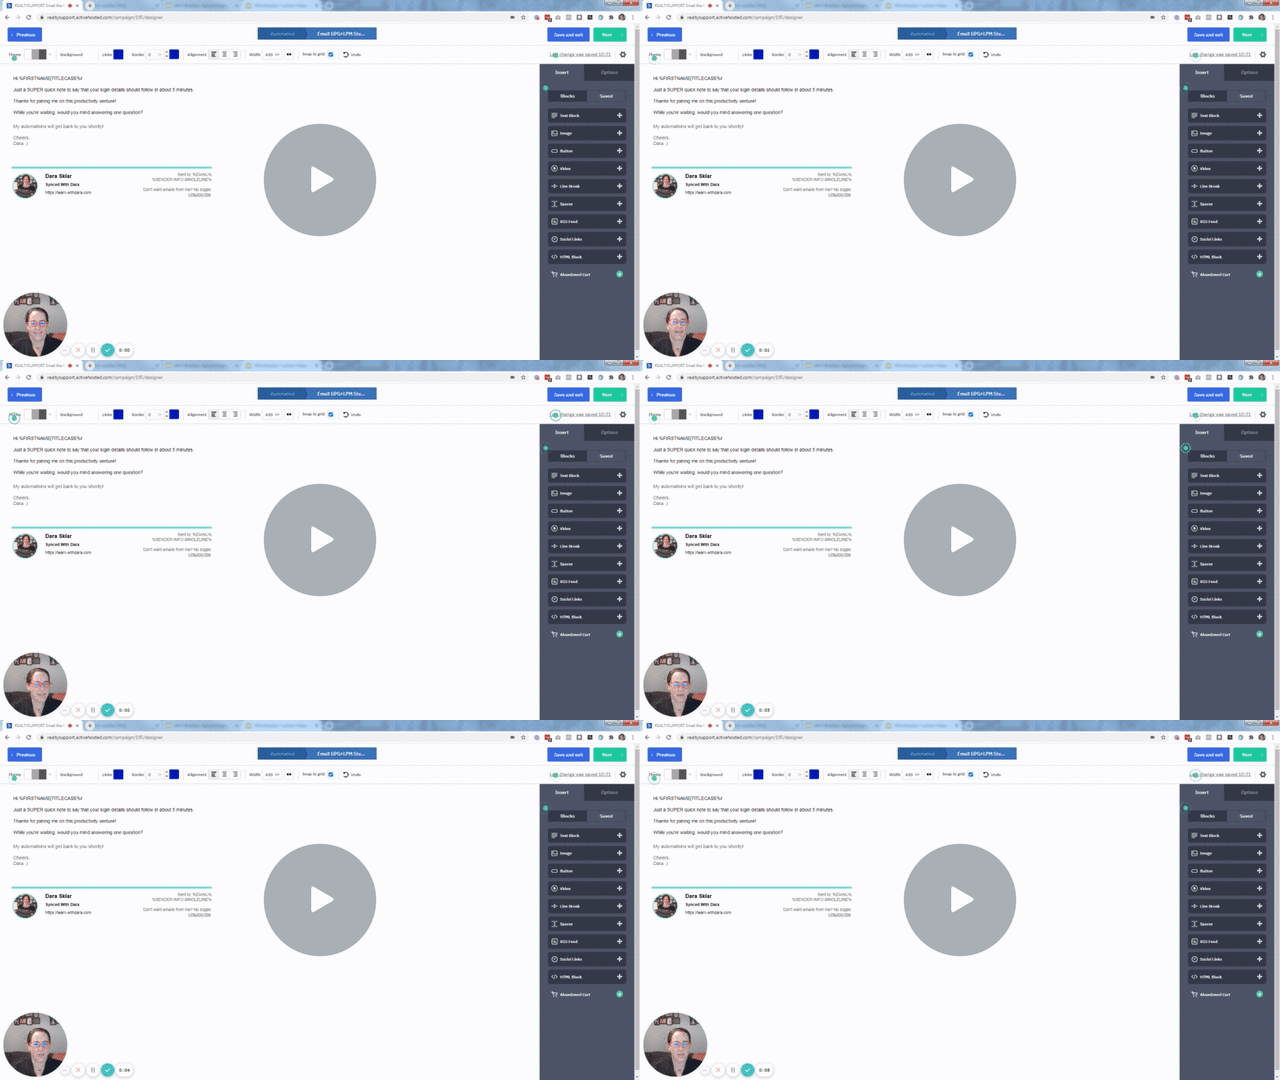
This helpful video by Dara Sklar will explain how to perform the tests.

Avoid using spam trigger words
As mentioned earlier, certain words and phrases commonly used in spam emails can trigger spam filters.
Therefore, it is important to avoid using these words in your email content. Examples include “urgent,” “free,” and “limited time offer.”
Personalize your emails
Personalizing your emails, such as addressing the recipient by name, can improve engagement and reduce the likelihood of your emails being marked as spam.
However, it’s important to ensure that your personalization efforts are genuine and not misleading.
Ask your recipients to whitelist your email address
Asking your recipients to whitelist your email address can help ensure that your emails are delivered to their inbox instead of their spam folder.
This involves instructing your recipients to add your email address to their contacts or safe sender list.
Repair poor domain reputation
When your emails are landing in spam folders, poor domain reputation can also be the reason.
Fortunately, you can repair this reputation by using a warmup tool, but the right approach depends on your sending volume.
For Low-Volume Senders
If your company primarily uses email for internal communication, customer support, or even cold outreach—sending perhaps a few hundred emails daily without bulk marketing campaigns—Lemwarm.com is your best option.
This tool allows you to connect several email addresses and sends approximately 40-50 warm-up emails per day from each one.
With 3 accounts connected, you’ll generate 120-150 daily warm-up emails, which is typically sufficient to repair domain reputation for low-volume senders.
For High-Volume Marketing Senders
However, if you’re sending tens or hundreds of thousands of marketing emails monthly through providers like Mailchimp or SendGrid, you’ll need InboxAlly instead.
Google evaluates your reputation based on total email volume, and InboxAlly recommends warm-up emails should represent approximately 5% of your total subscriber base.
So if you’re emailing 100,000 people monthly, you’ll need about 5,000 seed emails from InboxAlly to effectively repair your domain reputation.
Track Your Progress
Whichever tool you choose, it’s essential to monitor your progress using Google Postmaster Tools.
Your goal should be to see your domain reputation recover from “Medium,” “Low,” or “Bad” back to “High”.

Why This Matters for All Your Emails
It’s important to understand that domain reputation affects ALL emails sent from your domain—not just marketing messages.
When your domain reputation is poor in Google Postmaster Tools, both your marketing campaigns and standard business communications (like support emails, internal messages, and partner communications) will be affected.
By repairing your domain reputation, you ensure that all of your organization’s emails reach the primary inbox instead of being relegated to spam folders.
Conclusion
Having your GoDaddy emails go to spam can be quite frustrating and negatively impact your business or personal communication.
However, there are several steps you can take to solve this problem and ensure that your emails are delivered to the recipient’s inbox.
By understanding email spam filters, checking your email content for spam triggers, verifying your email domain and authentication, and following the other steps outlined in this article, you can improve your email deliverability and avoid the spam folder.
Frequently Asked Questions
Why are my GoDaddy emails going to spam?
Your emails may be going to spam due to a variety of reasons, such as suspicious content, poor domain reputation, blacklisted IP address, or lack of email authentication.
How can I check if my IP address is blacklisted?
You can use these online tools to check if your IP address is blacklisted.
What are SPF, DKIM, and DMARC records, and how do they help prevent emails from going to spam?
SPF, DKIM, and DMARC records help email providers authenticate the sender’s identity and verify that the email is not spam.
Can personalizing my emails increase the likelihood of them being delivered to the inbox?
Yes, personalizing your emails can improve engagement and reduce the chances of them being marked as spam.
What should I do if I’ve tried all of the above steps and still experiencing problems with my GoDaddy emails going to spam?
If you’ve tried all of the above steps and are still experiencing issues, it may be necessary to contact GoDaddy support for assistance.
